Comprehensive Guide in Asphalt Driveway Installation
When it comes to bitumen driveway installation, many home and business owners often initiate projects without fully understanding the entire process. Even municipalities tend to be unaware of the necessary steps to ensure they receive quality pavement jobs.
Step 1: Demolition
The first step during an asphalt paving installation is the removal of the previous surface to give way to the new layer of pavement material. This step is done with the use of power tools and heavy machinery, including forklifts, bobcats, front loaders and more. The demolished materials are then gathered so they can be re-used again.
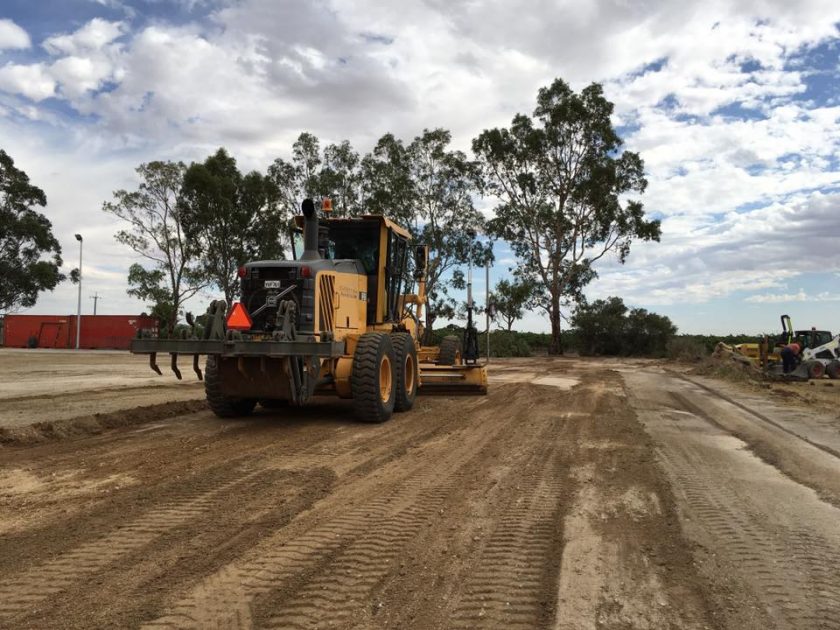
Step 2: Sloping and Grading
This step refers to when the surface has become a clean slate and is already requiring appropriate level preparation for water drainage. laser-guided transits should be used to ensure water will run off through the surface properly.
Step 3: Sub-Base Preparation
Believe it or not, the proper preparation for sub-basses is the most important part of the process. This is because the sub-base offers stable support to new pavement. Moreover, it acts as a frost barrier, preventing damage from freezing and thawing throughout winter.
Step 4: Sub-Base Installation and Repair
The foundation is not properly supported if the gravel bends more than an inch under the weight of the vehicle. On the other hand, if there are soft places detected in the sub-base, your contractor will require repairs to ensure the sub-foundation is stable. Moreover, soft areas can be repaired using undercutting. This procedure entails drilling two or more feet beneath the surface.
Furthermore, contractors typically utilise geogrid to reinforce the foundation. This is done by excavating only 16 inches below the surface and placing the grid down. This is an affordable and typical undercutting alternative that builds a robust support system for fresh asphalt.
Additionally, you can also use ploughing, which is a method that involves undercutting the sub-foundation. The only difference is, rather than removing the clay and dirt, the hot mix asphalt iscombined with more aggregate to strengthen the weak sections.
Step 5: The Surface’s Course
When everything is finished, it’s time to apply the binder on the sub-foundation. This needs to be placed and dried if any soft spots have been detected and corrected. The binder layer is made up of huge aggregate combined with oil, which makes it extremely robust and long-lasting.
Step 6: Installation of New Asphalt Surface
Following the installation of the sub-base, the supporting structures for a new asphalt surface are applied to give a clean, smooth ride. This mix of components produces jet-black asphalt, which delivers a smooth ride and a gleaming, appealing finish to the surface when done properly.
Step 7: Final Touches
Installing an asphalt surface that does not link to existing roads, streets, or parking lots is extremely unusual. As a result, asphalt paving contractors must find a means to make the transition from the old to the new surface as seamless as possible. After that, when the asphalt has already been laid, the surface will be compacted, smoothened, and then left to dry.
Bitumen installation can be a complex process, but we’re here to make it easy for you.
Call us today to find out more!
